


Author: Daniel Davis
Using an Arduino as an HID
Arduino’s are the Swiss Army knife if nerds and hardware hackers. They’re extremely versatile, and this article is going to show you a little hack on how to make them even more versatile. Here’s the problem: the most widely used Arduino is the Arduino Uno and by default it does not have the ability to emulate a keyboard or inject keystrokes. This ability is reserved for the Arduino Leonardo, which is an extra purchase. So here’s how you can convert an Arduino Uno into a keyboard emulator. This guide is based on a similar write up by Kevin DeMarco.
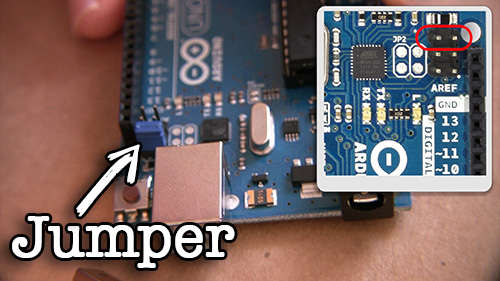
- Take the Arduino Uno and place a jumper (like the ones you find on old hard drives) on the Reset and Ground pins as shown in the picture to the left.
- Plug the Arduino into your computer via USB wait a few seconds (for the lights to flash on) and then remove the jumper. This puts the Arduino in reset mode.
- Now on your computer (assuming linux), open up a terminal and run these commands
- Update apt-get
sudo apt-get update
- Install the DFU program
sudo apt-get install dfu-programmer
- Download and unzip the firmware we’ll need for this project. This zip file contains two hex files: Arduino-keyboard-0.3.hex and Arduino-usbserial-uno.hex
wget http://www.tinkernut.com/demos/arduino_hid/arduino_hid.zip
unzip arduino_hid.zip
- Use the DFU programmer to erase the chip, upload a new firmware, and reset the chip. For this example, we will just upload an Atmega16u2 version of the USB firmware.
sudo dfu-programmer atmega16u2 erase
sudo dfu-programmer atmega16u2 flash --debug 1 Arduino-usbserial-uno.hex
sudo dfu-programmer atmega16u2 reset
- With the new firmware uploaded, you now have to power-cycle the Arduino. You can do this by simply unplugging it and plugging it back in.
- We now know how to flash the firmware, so now we need to make it act like a keyboard. So the first thing we need to do is write a simple program for the Arduino that sends keystrokes to the serial console. How we send a keystroke? By using this list of HID keyboard codes to find the character you want to send. Below is the sample code provided by Kevin DeMarco/* Arduino USB HID Keyboard Demo
* Random Key/Random Delay
*/
uint8_t buf[8] = {
0 }; /* Keyboard report buffer */void setup()
{
Serial.begin(9600);
randomSeed(analogRead(0));
delay(200);
}void loop()
{
delay(5000);buf[0] = 0;
buf[2] = 0x15; // letter R
Serial.write(buf, 8);
releaseKey();
}void releaseKey()
{
buf[0] = 0;
buf[2] = 0;
Serial.write(buf, 8); // Release key
} - Check this code for errors and then upload it to the Arduino. Now all that’s left to do is follow the same steps as in steps 2 and 3 to upload the Arduino Keyboard firmware. Briefly, here are the steps:
- Unplug the Arduino from the computer
- Place the hard drive jumper on the Ground and Reset pins.
- Plug the Arduino back into the computer so that it powers on
- Remove the hard drive jumper
- In your computer terminal, execute these commands to upload the Arduino Keyboard firmware
sudo dfu-programmer atmega16u2 erase sudo dfu-programmer atmega16u2 flash --debug 1 Arduino-keyboard-0.3.hex sudo dfu-programmer atmega16u2 reset - Power cycle the Arduino by unplugging it and plugging it back in.
- With your Arduino reconnected, open up a text editor, and you should see the letter “R” being typed (or whichever letter you chose). You’ve successfully emulated a keyboard with your Arduino!
- Update apt-get
Mini MakerFaire in Martinsville, VA
![]() Need your MakerFaire fix and can’t wait until the Burlington Maker Faire? Then this Satruday (April 18th), you can head on up to Martinsville, VA for the Martinsville Mini Maker Faire! Click here for the official site!
Need your MakerFaire fix and can’t wait until the Burlington Maker Faire? Then this Satruday (April 18th), you can head on up to Martinsville, VA for the Martinsville Mini Maker Faire! Click here for the official site!
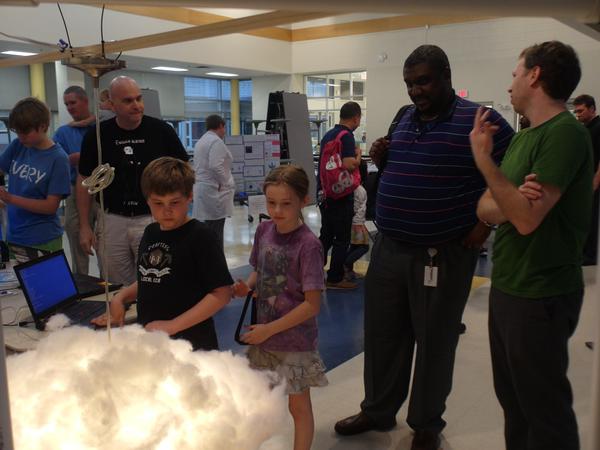
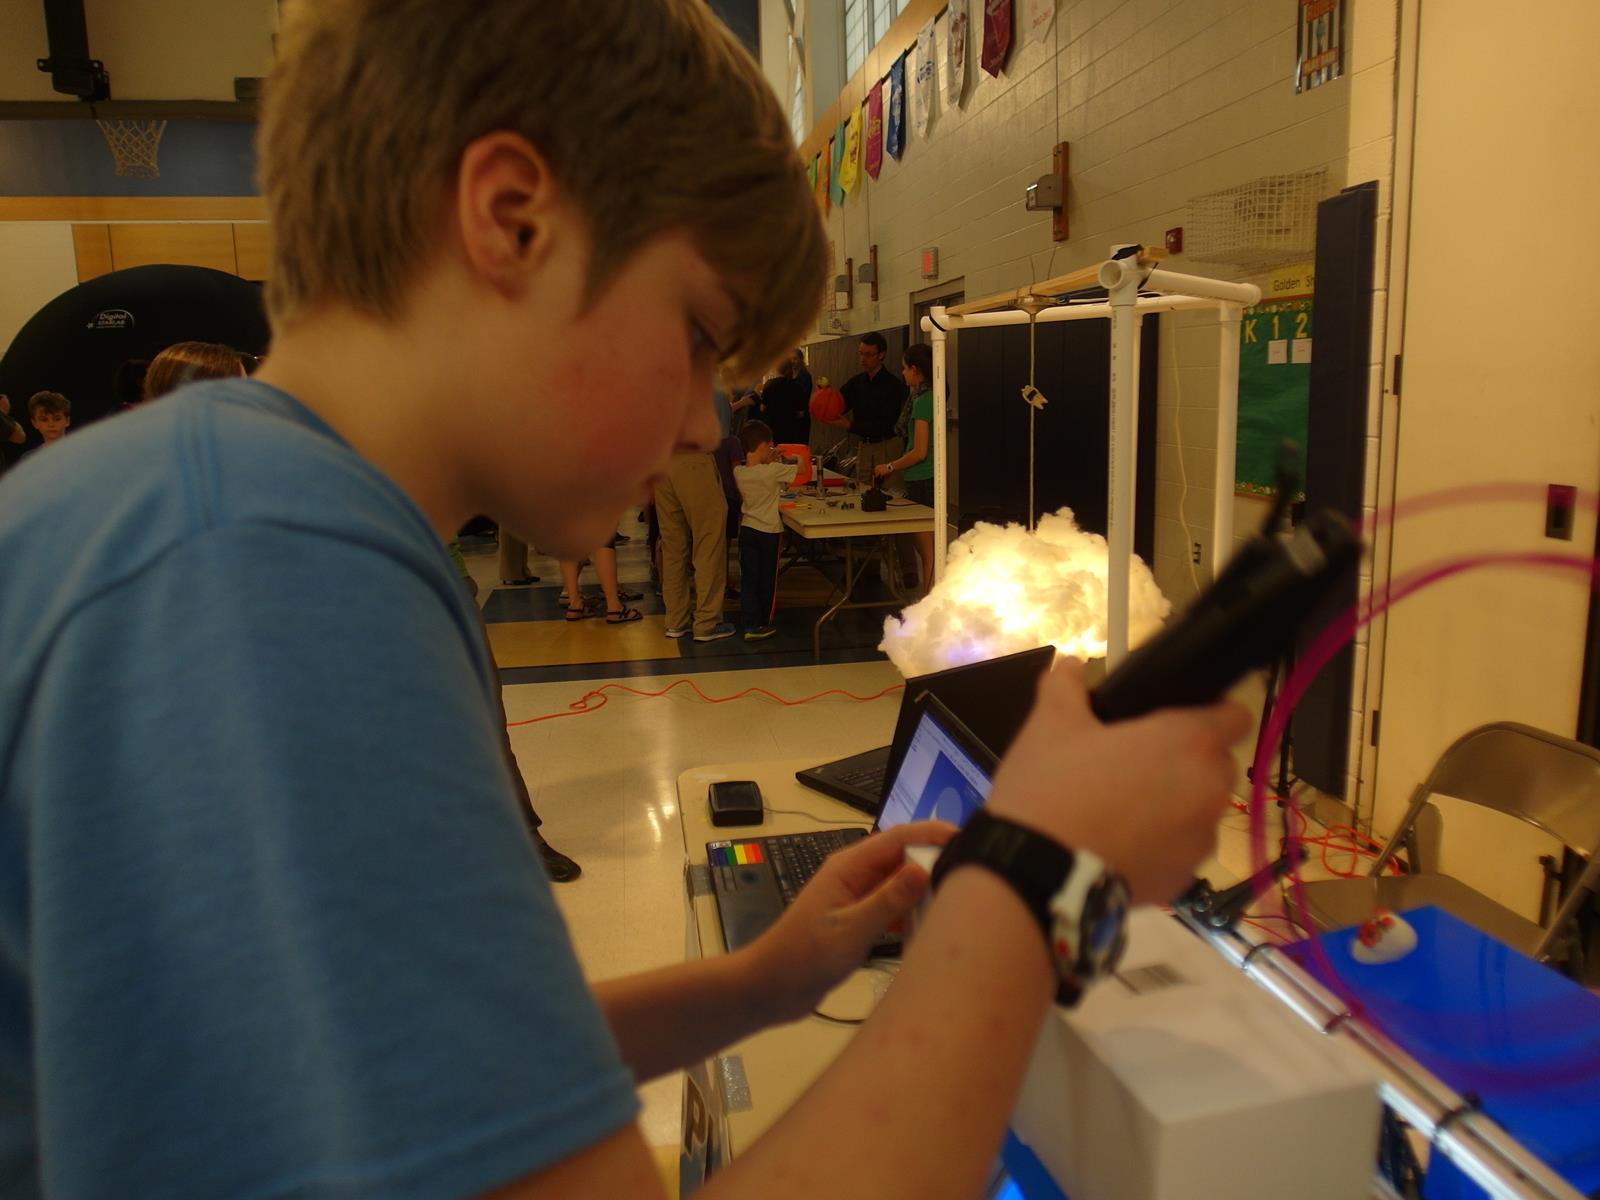
Creekside Elementary Math and Science Night!
Had an awesome time at Creekside Elementary on April 9th! Check out these pics!


3D Printed shoes?
 If you’re looking for new fashion trends, you should probably not look at 3D printers. This isn’t anything SplatSpace has done *yet*, but 3ders.org has an interesting article about 3D printed shoes. All I can say is WTF (why the face).

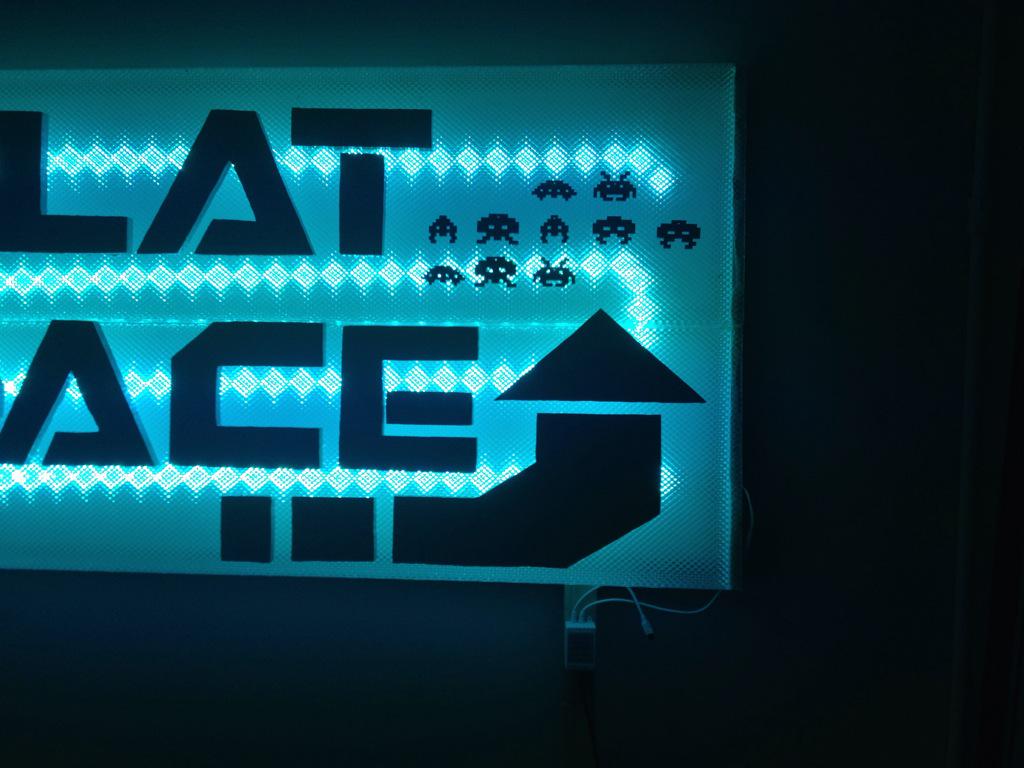
I Saw The Sign…And It Opened Up My Eyes!
We have new Splat Space signage! If you’re wandering around 800 N Mangum street on a Tuesday evening, keep an eye peeled for this beautiful bits of tastiness! Feel free to be drawn into their soothing RGB tones and allow them to lead you to the illustrious home from which they were created! Special thanks to Jeff Crews for his hard work and artistry!


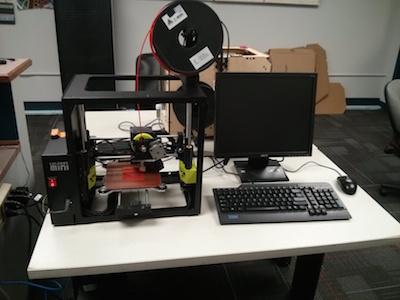
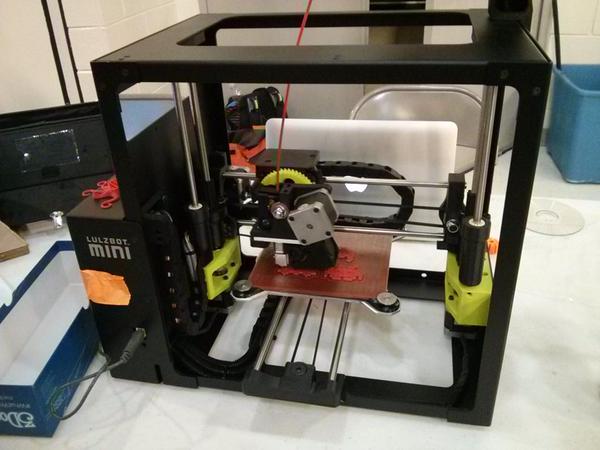
New 3D Printing Station!
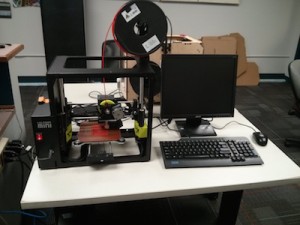 SplatSpace has won a new 3D printer and with it comes a new 3D printing station! As you can see it’s a simple setup for all your basic 3D printing needs! Come by and check it out and see some test prints at the open meeting tomorrow (Tuesday) at 7:15pm! Special thanks to Sarah Stack for the photo and for helping get this set up.

Happy Arduino Day!
 If you’re not familiar with the glorious technology that is an Arduino, then let me sum up by saying this: it allows you to control the world! Well, at least it allows you to control almost any other technology from your computer. In essence, it’s a gateway drug to microchip programming and today is it’s very special Arduino day! We here at the space love Arduinos. So take a moment to watch the awesome Arduino documentary embeded below, and if you want more, then check out some cool projects that involve Arduinos! <3
Arduino The Documentary (2010) English HD from gnd on Vimeo.
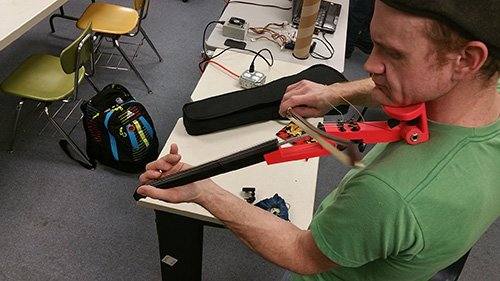
3D Printed Violin!
Like new age tech? Like music? Like Mike? I’d like to be like Mike. At the last open meeting, Bill Culverhouse, our own 3D printing extraordinaire, showed off his custom 3D printed violin! The body of it was generated entirely by a 3D printer with normal violin strings and a bow. He was able to connect it up to an amp and bust out tasty rendition of Twinkle Twinkle Little Star. Here you’ll see a couple pics, and hopefully a video will be soon to come!


Duke Brain Week
 This week is brain awareness week at Duke! If you’re curious about what makes your thinky noodle work, click on this link to get the schedule! There’s a lot of really cool seminars to check out, so if you have some free time, check it out! SplatSpace approved.