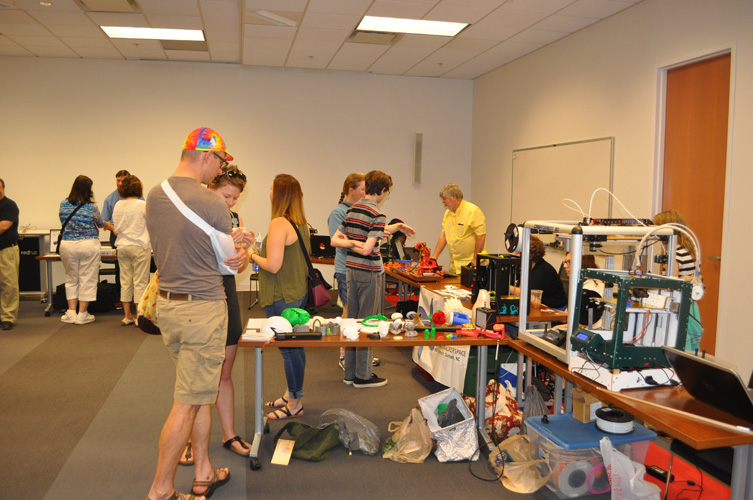
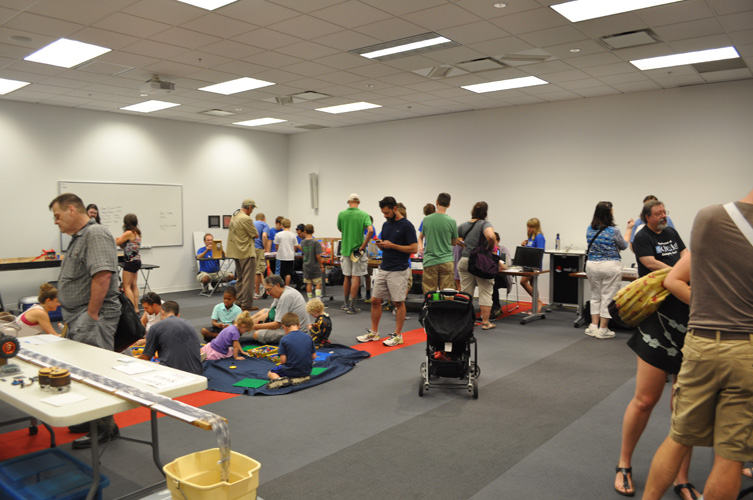
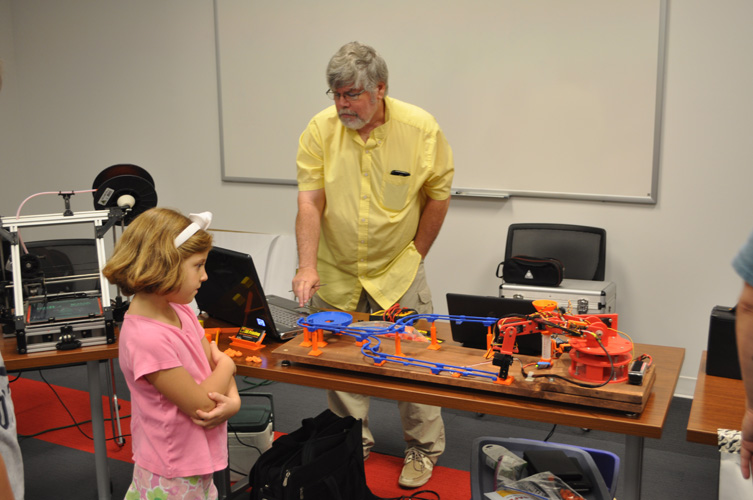
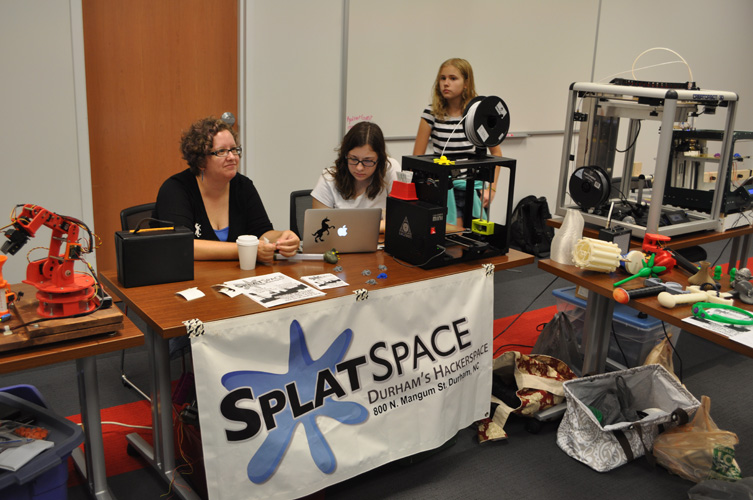
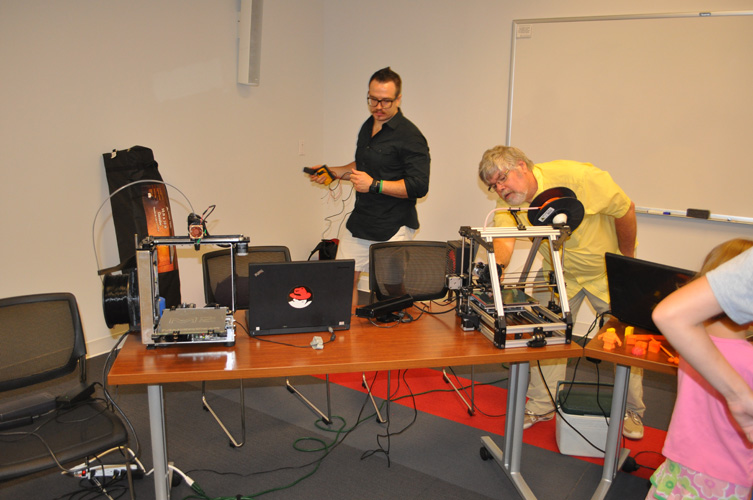
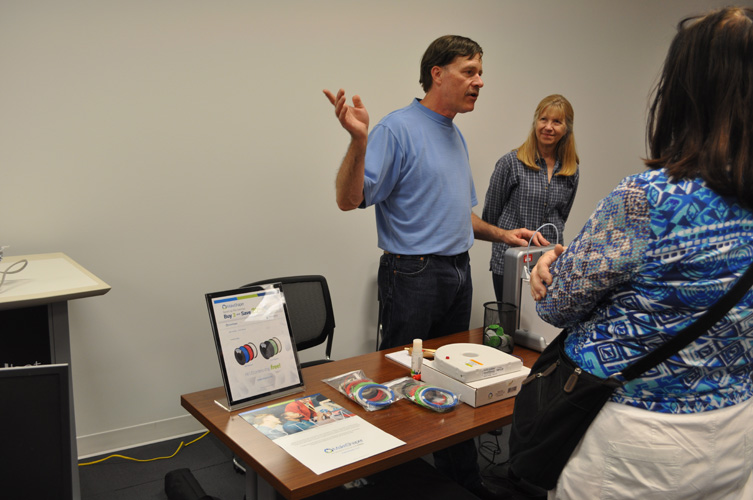
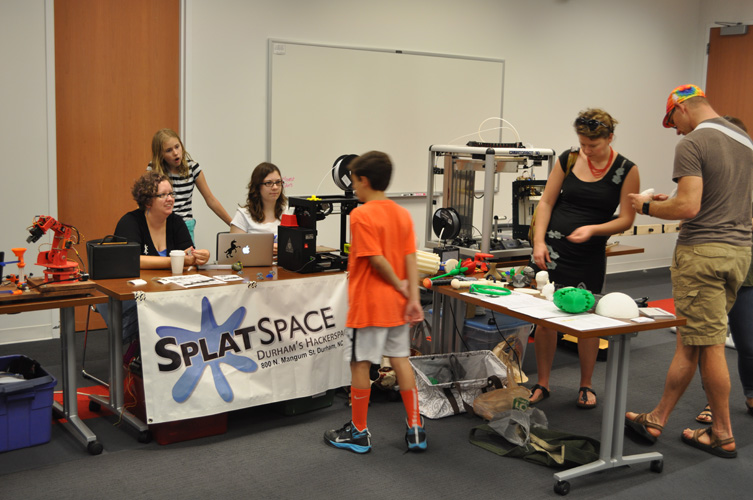
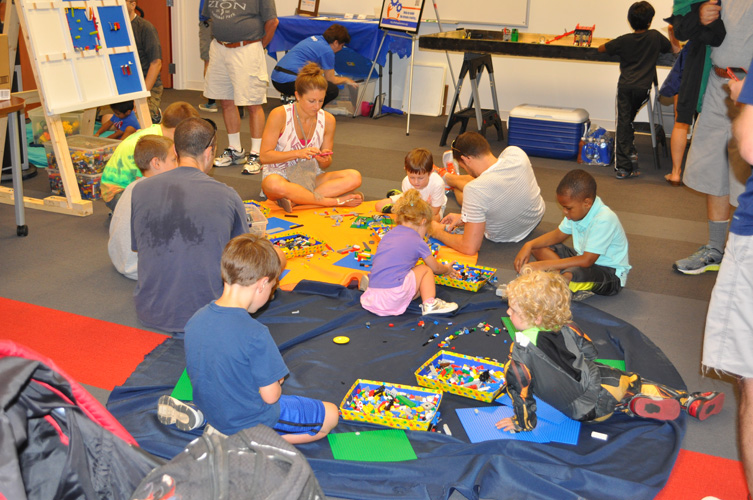
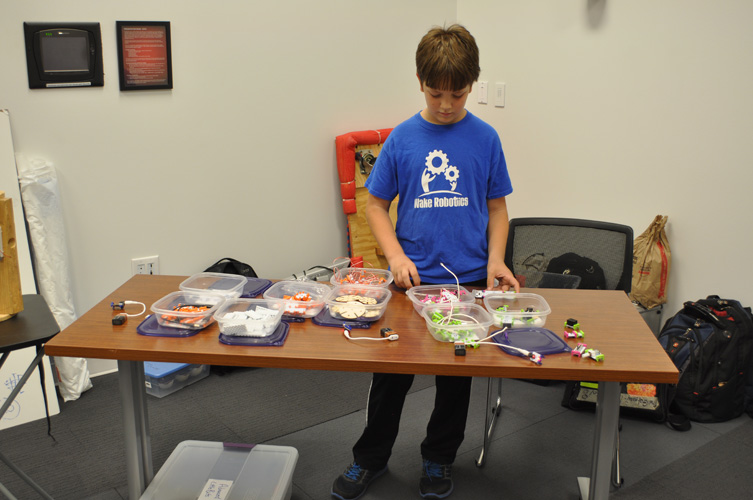
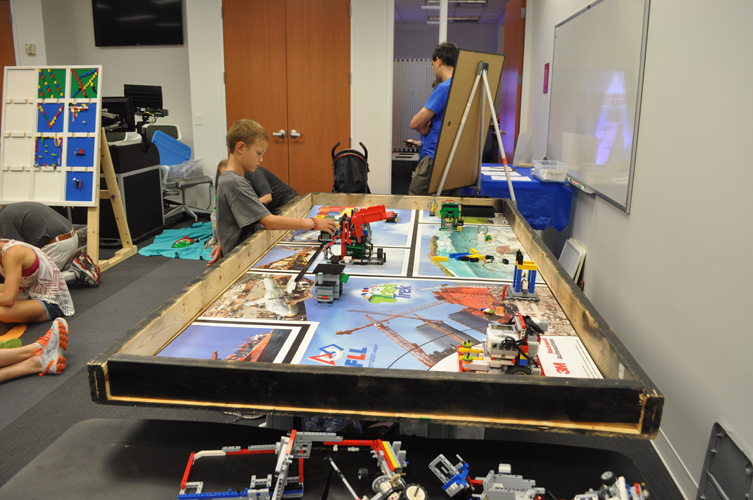
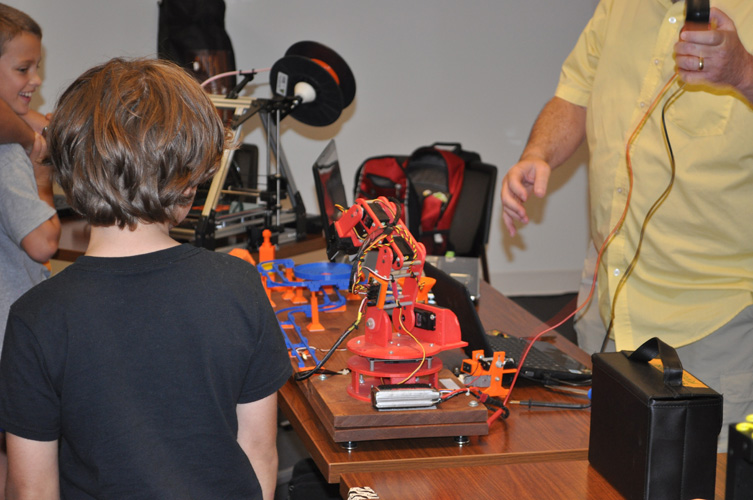
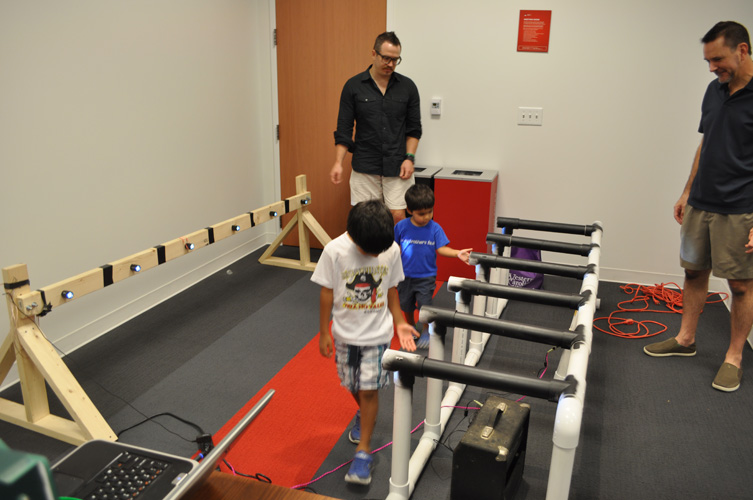
Having fun at Engineer’s Day at the Museum of Life and Science! More pics to come!


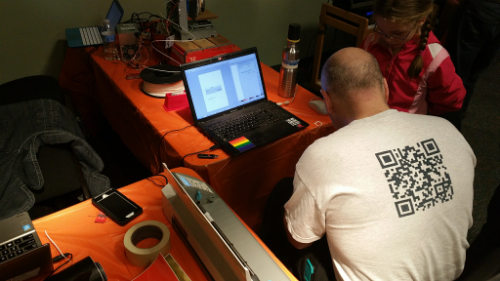
Having fun at Engineer’s Day at the Museum of Life and Science! More pics to come!
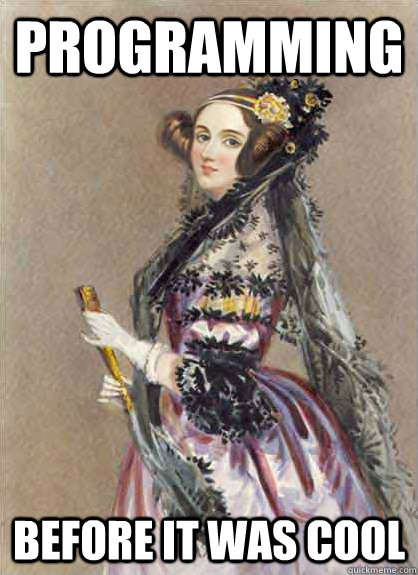
 It’s Tuesday, which normally means there’s an open meeting tonight at 7:00. HOWEVER…it also happens to be Ada Lovelace day, which celebrates the world’s first female programmer and also celebrates women in engineering. So tonight, we’re having an Ada Lovelace party at our open meeting. So feel free to bring snacks and/or drinks and any cool projects that you are working on. You can even feel free to come dressed like Ada Lovelace, if you can find a dress that is as rock-tastic as the one pictured to the right. See you guys tonight at 7!
LOCATION:
Durham, NC 27705
(919) 704-4225
 Game night was a totally awesome success! Next time, we won’t even set an end time, because it appears that end times are irrelevant whenever you’re having a lot of fun. 7-8:30? Screw that. Try 7-11pm! Thanks to everyone for showing up, bringing games, playing games, and just having a wicked good time!
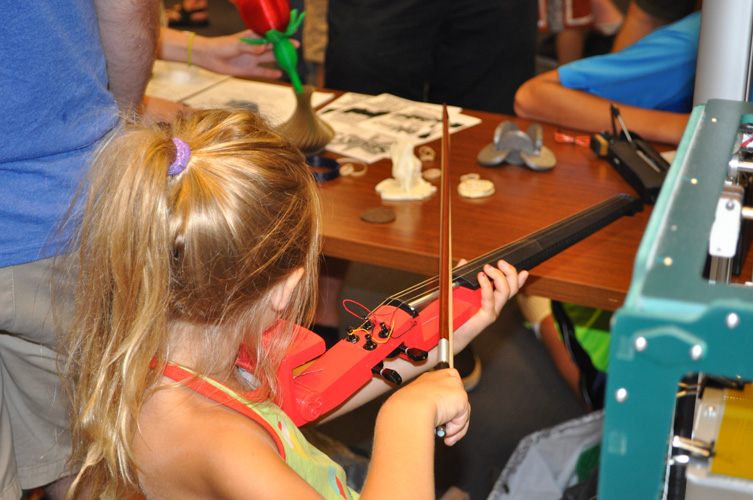
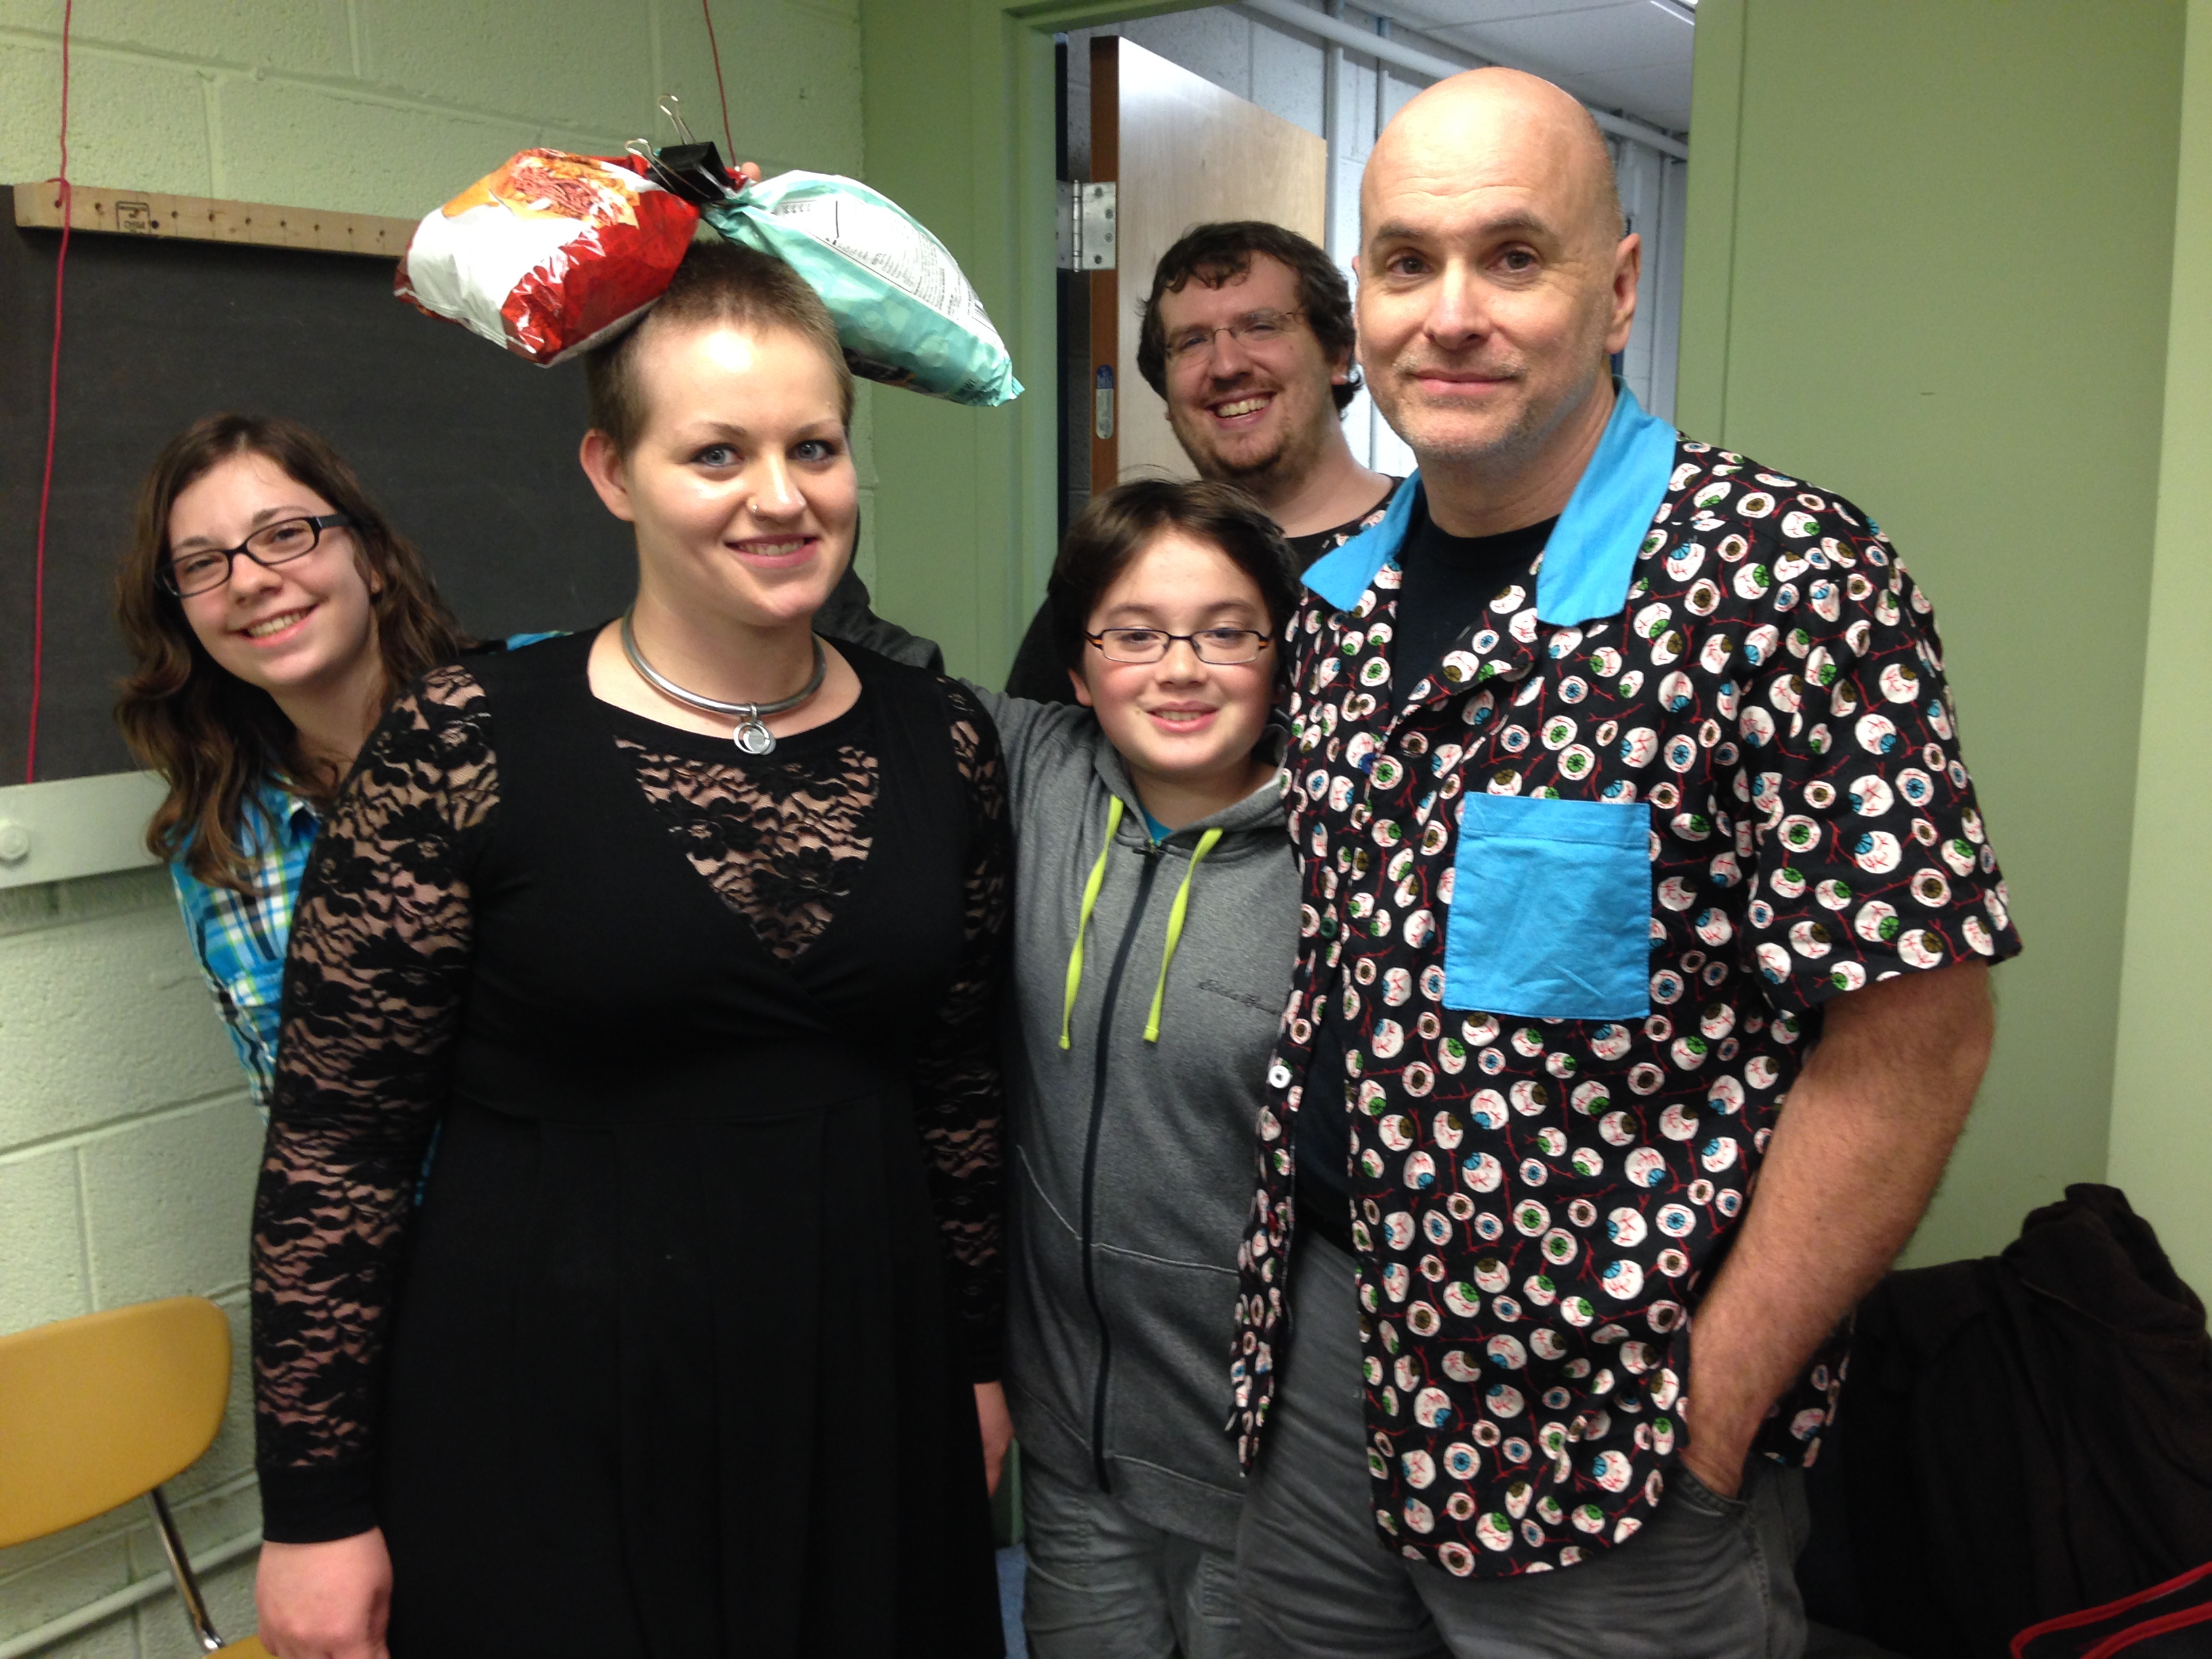
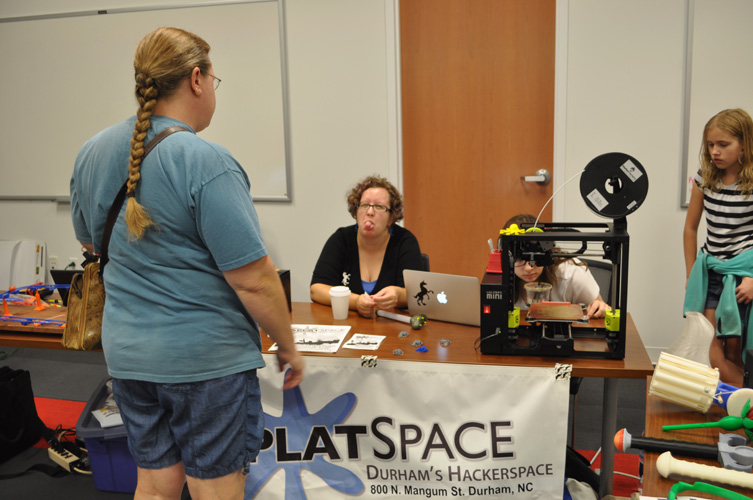
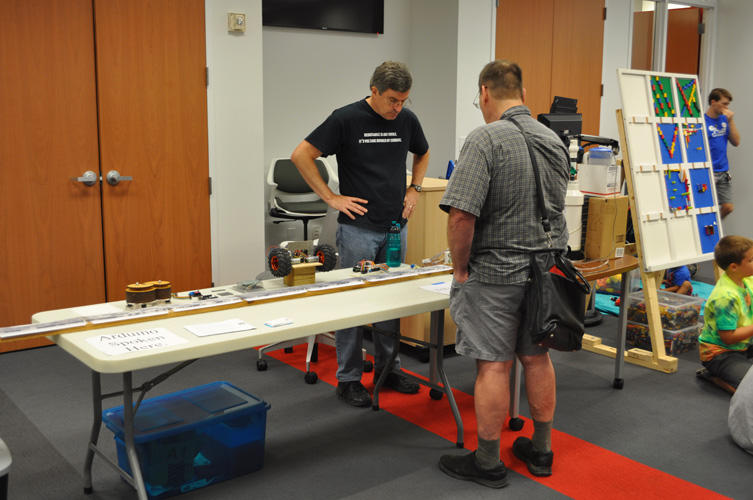
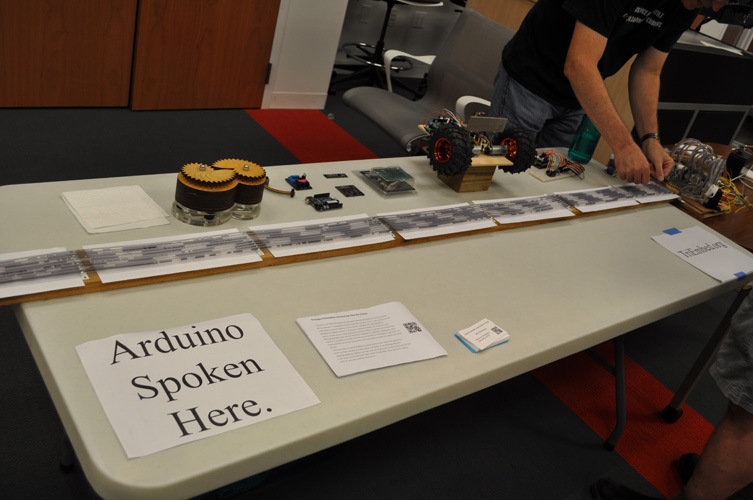
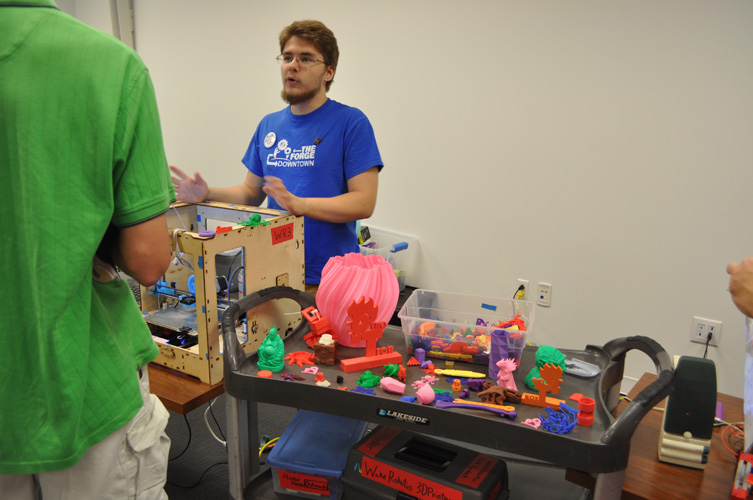
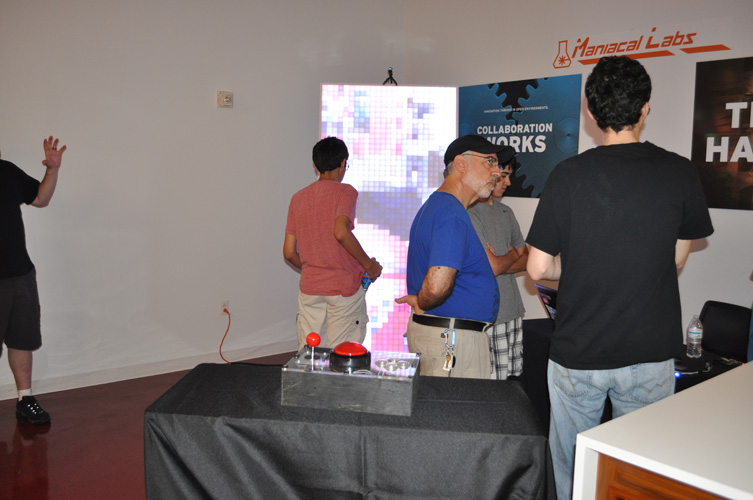
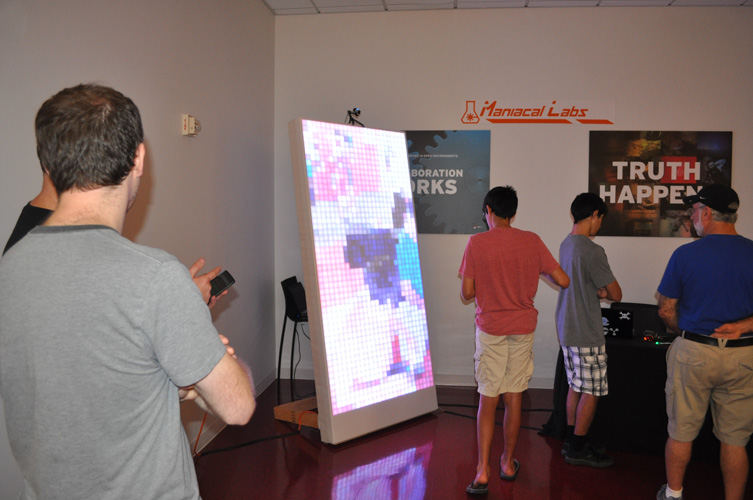
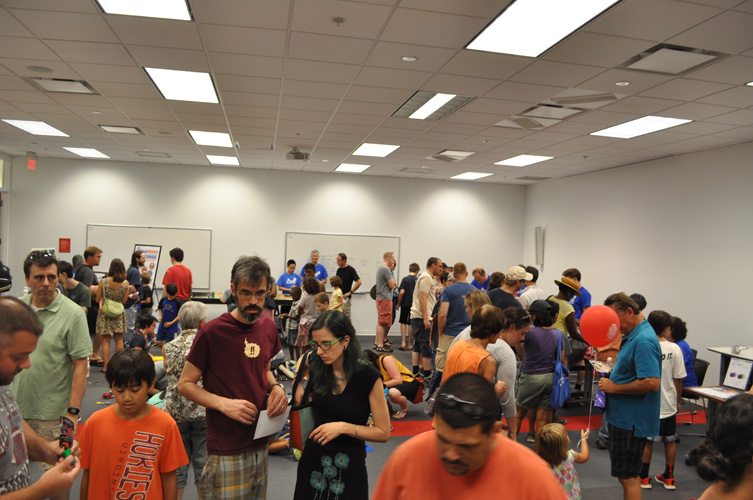
 This past weekend, SplatSpace had a booth at SPARKcon’s geekSPARK. It was a BLAST! There were a TON of people! And everything was AWESOME! CAPS, CAPS, CAPS! If you weren’t able to make it out, the Raleigh News and Observer has a great article regarding SPARKcon this weekend, including this video overview. For a more SplatSpace-centric look at this past weekend, check out the pics submitted by Bill Cullverhouse below. Thanks everyone that made it out and thanks to everyone that represented SplatSpace so well!

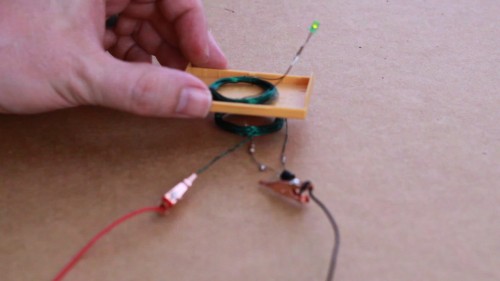
This weekend, we’re going to be taking a look at a simple way to create wireless power using electromagnetism. You can learn more about wireless electricity here. So not only is it a cool project to impress your friends, it’s also a great way to learn the basics of electromagnetism!
 What you will need:
Step 1:
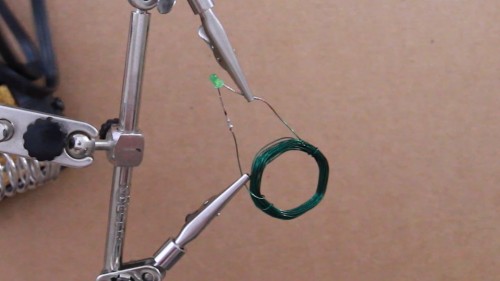 The first thing we need to create is to create the receiving coil (the coil that receives the electromagnetic charge). To do this, you want to take your magnet wire, pull out about an inch to create the first lead, then start wrapping it around the handle of a large screwdriver. Approximately 30 wraps is a good place to start. Then pull out another inch before cutting the wire to make the second lead. Slide the coil off the handle and wrap the leads once around the coil to hold the coil together.
With the coil made, we next want to solder an LED to it. In order for the leads to make a good connection with the LED, we will need to burn (or scrape with scissors) the plastic coating from each lead. After that, you can solder the legs of the LED to each lead of the wire (the direction doesn’t matter).
 Step 2:
The next thing we need to create is the inducer coil. This is what creates the electromagnetic field that is then passed on to the receiving coil. To make it, we start out the same way we did with the receiving coil, except after 15 wraps, pull out about an inch of wire, and then continue wrapping the remaining 15 turns of wire. Slide the coil off of the handle, wrap the leads around the coil to hold it together, and then use a lighter to burn the coating off both of the leads as well as the center lead.
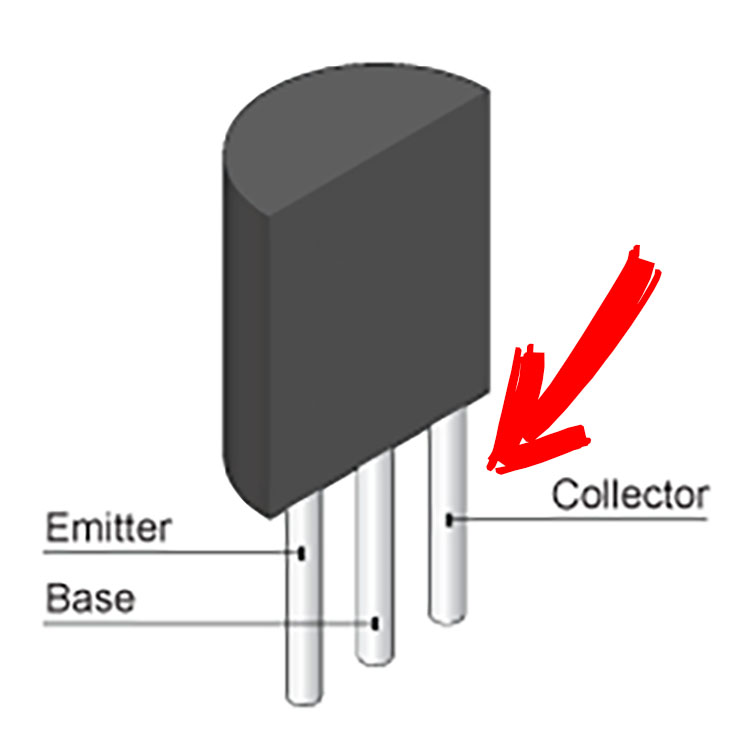
Now we need to solder the necessary parts to the coil. Take the transistor, and using the diagram to your right, find the “collector” leg and solder it to one of the outside leads. Then solder the middle “base” leg of the transistor to the 1k ohm resistor. And finally, solder the other end of the 1k ohm resistor to the other outside lead. At the moment, there should not be anything connected to the middle lead of the coil or the “emitter” leg of the transistor.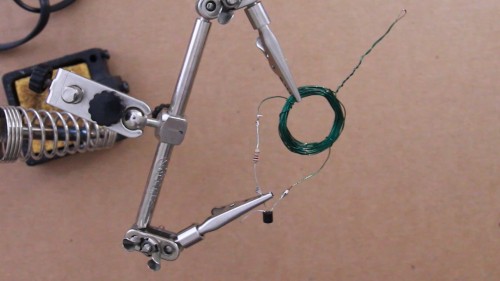
Step 3:
All that’s left to do to get this to work is to apply power. So take the AA battery and connect the negative end of it to the “emitter” leg of the transistor, and connect the positive end to the middle lead of the inducer coil. What this does is send power throughout the wire and runs it through all the coils creating an electromagnetic field around the coil.
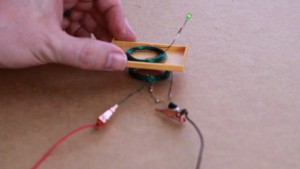 Now that the inducer coil has power, you can take the receiver coil (with the LED) and place it close the the inducer coil. The closer it gets, the brighter the LED will shine. You can even test it out by putting paper or plastic between the two coils and see how many it takes before the LED no longer powers up.
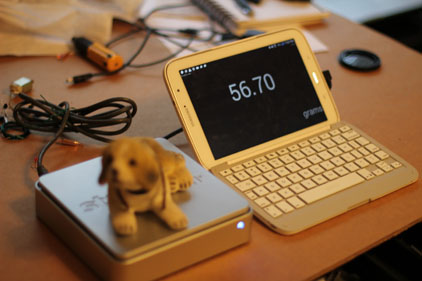
This weekend, we’re going to be doing a simple hack: repurposing a digital scale that Stamps.com sends out for free. By default, they allow the scale to work only with their software. But luckily, the internet has provided us with tools that allow us to talk to the Stamps.com scale without their proprietary software.
 What you will need:
Step 1:
If you are using a Windows Machine, simply plug the stamps.com scale into it. To be able to read it, you will need to download one of these two pieces of software:
All you have to do is install one of the above programs and you’ve got yourself a cheap digital scale!
 Step 2:
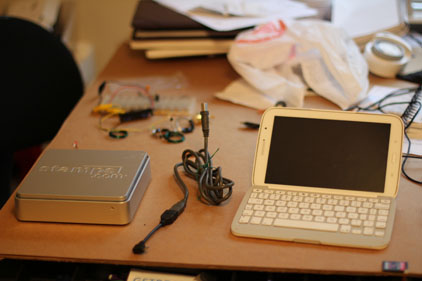
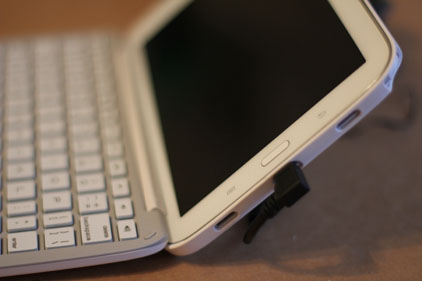
If you want something more portable, you can also use an Android device to read the scale. But in order to do this, you’ll need a cheap USB adapter that allows you to plug the scale into your phone. Then you’ll need to go to the app store and download the Ultimate Scale app. Once the scale is on, the app should start reading the input for the scale!
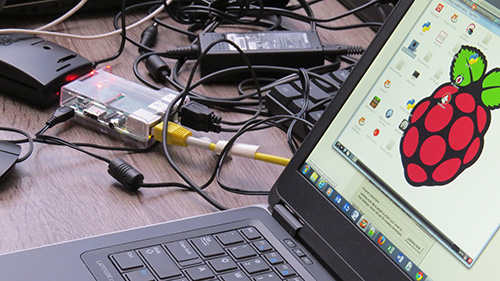
 Love electronics? Love Pi? This Thursday (June 26th) there will be a Raspberry Pi Meetup at SplatSpace for all those in love with the lovely, cheap, credit card sized computer. Come and show off some of your RPi creations, or just come and learn what in the hack I’m talking about. Either way, it’s gonna be awesome!
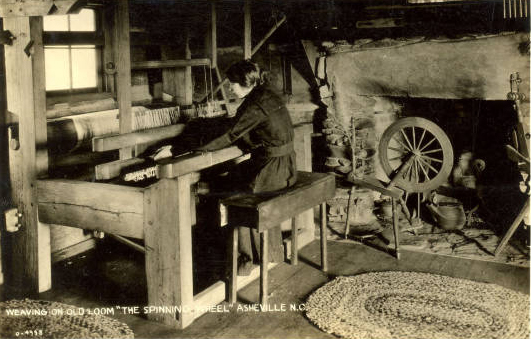
 One of our members suggested this excellent article about how textiles have helped push technological innovation throughout the centuries. Generally when we think “textiles”, we don’t equate them with “tech”. However, manufacturing textiles require lots of technology that have revolutionized the manufacturing industry. A fantastic example was the Jacquard loom from 1801, which was the first programmable piece of machinery (running on punch cards). Anyway, it’s a great read, so check out the article here:
http://aeon.co/magazine/culture/how-textiles-repeatedly-revolutionised-technology/

 Please visit the TriLUG website for more information on what TriLUG is!
“Work on a personal project, hone your skills, or try something you learned about at a recent meeting. While you’re at it, help us maintain the TriLUG infrastructure.
Maybe you can bring an old phone down and see if CyanogenMod or another free OS can be flashed onto it, or play around with other free software available on your phone.
This month we continue tweaking our offsite backups, take the first steps down the path to the next incarnation of our infrastructure, and set up a group infrastructure git repository. Come on down and dig in!”
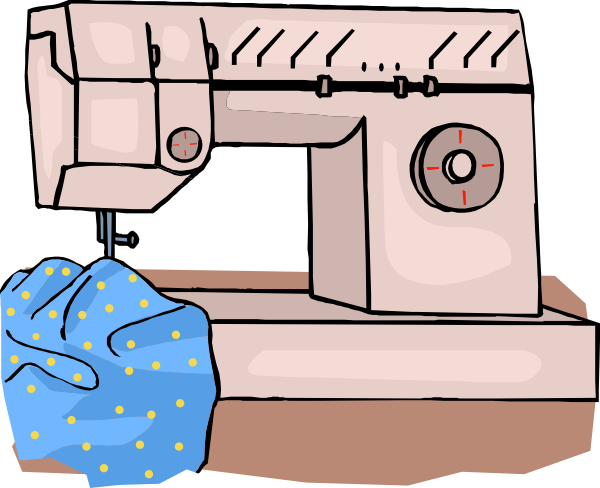 This article was pointed out by one of our members. It talks about using arts and crafts as a “low tech” way to get people into STEM (science, technology, engineering and math) areas. It talks a lot about the divide between low-tech and high-tech approaches to STEM and how the low-tech side (arts and crafts) has often been over looked are stereotyped to specific genders. It’s a very interesting read and you can read it here.